Best Crossbow Position and Archer Tactics in Command An Army
Master ranged combat in Command An Army with our guide on the best positioning for crossbowmen and archers to maximize your battlefield effectiveness.
Published: Command An Army Wiki Editorial Team
Video Guide
How To Use The Archer Troop Class Effectively Command An Army RobloxTable of Contents
Optimal Positioning for Crossbowmen and Archers
In Command An Army, success relies heavily on your ability to keep your ranged units safe while maintaining a constant output of damage. Because archers and crossbowmen are inherently squishy, their survival depends entirely on their placement relative to your melee troops.
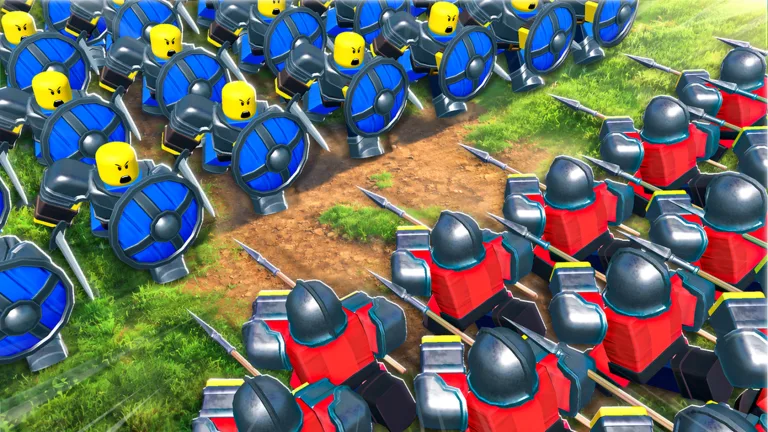
The most effective strategy is to establish a "shield wall" using units like Shieldmen or Imperial Walls. Position these tanks directly in front of your ranged line. By doing this, you force enemy melee units to engage your high-HP defenders, giving your archers and crossbowmen the time they need to deal sustained damage from safety. Never leave your ranged units exposed on the flanks, as they are easily wiped out by fast-moving units like Scout Riders.
Mastering Ranged Combat Tactics
Ranged units in this game require a different mindset than melee troops. According to veteran player strategies, you should prioritize range and utility over raw damage numbers.
Focus Fire: Use the "B" key to concentrate your unit's fire on a single target. This is particularly effective when trying to assassinate an enemy commander or a high-value unit that is pushing too aggressively.
Static Fire: Avoid moving your archers while they are in combat. Most ranged units will stop firing entirely if you issue a move command. If you must reposition, do so in short, decisive bursts, or only when absolutely necessary to escape a charge.
Defensive Stance: If an enemy gets too close, do not try to fight them in melee. Retreat your ranged units immediately. If escape is no longer an option, hold your position and focus fire to maximize your chances of taking down attackers before your archers fall.
Comparing Ranged Unit Roles
Not all ranged units function the same way. Understanding the specific strengths of your units will help you choose the best position for them on the field.
Unit
Key Strength
Best Usage
Flame Archer
High DPS via burn effect
Best all-around ranged choice; ignores shields.
Crossbowman
Shield piercing capabilities
Essential for pressuring defensive enemy formations.
Archer
Low cost, accessible
Best used as early-game filler or for evolution paths.
As noted in community reports, while the Flame Archer is widely considered the best ranged unit due to its burn damage, the Crossbowman is a powerful alternative when facing heavily armored opponents. Always evaluate the enemy's composition before finalizing your lineup.
When to Retreat and Regroup
A common mistake is rushing your entire army into the center of the fight. If your frontline collapses, your ranged units will be exposed instantly. If you notice your shield wall breaking, pull your ranged units back immediately.
Tip
Use the environment to your advantage. On defensive maps, camp your archers in protected spots where they have a clear line of sight but are difficult for cavalry to reach.
Playing patiently is the key to winning. Instead of throwing your army into a chaotic fight, wait for the enemy to overextend. When the enemy formation becomes messy, that is your window to move your ranged units into a superior position and unleash concentrated fire. Remember that your primary goal is to win the objective, not just secure individual kills.