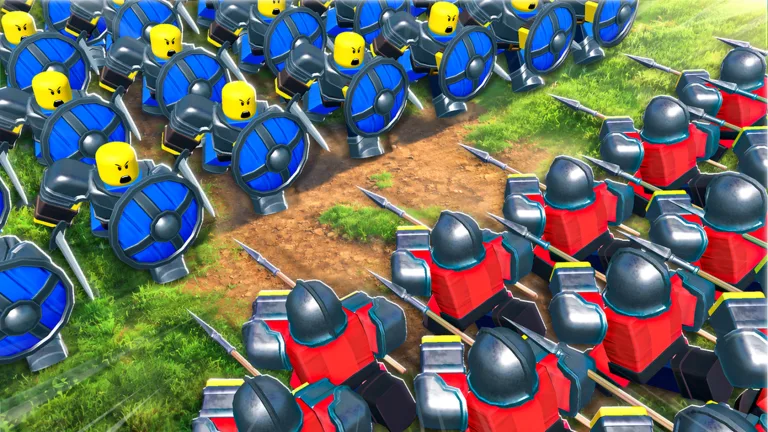
How to Change Formations in Command An Army (Roblox)
Master troop control in Command An Army by learning how to change formations, use keybinds, and position your units for tactical combat advantages.
Published: Command An Army Wiki Editorial Team
Video Guide
BEST COMMANDS & HOW TO USE THEM in COMMAND AN ARMY RobloxTable of Contents
Understanding Troop Formations and Unit Control
In Command An Army, managing your army effectively is the difference between a total wipeout and a strategic victory. Many players look for a dedicated "formation menu" to swap between different combat shapes. However, based on current gameplay mechanics, formation types are determined by the specific unit you deploy. Instead of toggling shapes, you must focus on positioning and unit-specific behaviors to control how your army engages the enemy.
The game uses a robust system of keybinds to dictate how your troops react to your presence. To "change" your formation's impact, you must use the following commands effectively:
Hold (X): This is your primary defensive command. When you press X, your units will anchor to their current location. This is essential for creating defensive lines or protecting flags.
Follow (C): Use this to group your units and move them as a cohesive block. This prevents your army from spreading out and getting picked off by enemies.
Attack (V): Triggers your units to engage the nearest threat.
Rush (B): A high-risk, high-reward command used to break enemy lines or chase down retreating players.
Tactical Positioning and Combat Strategy
Since you cannot manually select a "circle" or "line" formation, you must create your own formations through movement. Community reports emphasize that manual placement is vital. For example, if you are playing a defensive role, standing in the middle of your unit group while using the Hold command helps keep your troops shielded from projectiles.
Tip
Maximize Unit Synergy: Don't just throw all your troops at the enemy. Place your high-HP melee units (like Spartans or Shieldmen) in the front to absorb damage, and position your ranged units (like Archers) behind them to deal consistent damage without being targeted first.
Knowing your map is just as important as your formation. Lancers, for example, cannot climb walls, so deploying them in a map with high-ground defenses will render them ineffective. Always adapt your "formation" by choosing the right units for the specific map layout and objective type (attacking vs. defending).
Advanced Unit Management
To become a top-tier commander, you need to account for the "Star Limit" constraint. As a beginner, your loadout is limited by stars, which increases as you level up. Because you cannot simply bring the strongest units into every match, you must build a balanced core lineup.
The Balanced Core: A reliable squad typically includes a sturdy melee unit for the front line, a ranged unit for support, and a fast unit for flanking or repositioning.
Countering Enemies: If you see an enemy "stack" of units, don't blindly charge them. Use your units' specific strengths—such as using Spear-type units to counter charging cavalry or mace units to break through defensive formations—to turn the tide.
If your formation breaks during a chaotic fight, do not panic. Use the Follow keybind to regroup your remaining units, retreat to a safe distance, and re-establish your position. Fighting together with teammates is consistently reported by the community as the most effective way to win, as individual players often struggle against coordinated enemy groups.