How to Get and Use the Imperial Wall in Command An Army
Learn how to unlock the Imperial Wall in Command An Army and master its role as the game's tankiest unit for defensive strategies.
Published: Command An Army Wiki Editorial Team
Video Guide
How To Get The Imperial Walls And Is It Worth It? Command An Army RobloxTable of Contents
Unlocking the Imperial Wall
In Command An Army on Roblox, the Imperial Wall is widely considered one of the most effective units for defensive play. To obtain it, you must follow the specific evolution tree starting with the basic Shieldman unit.
The upgrade path is as follows:
Shieldman → Sentinel → Imperial Wall
Players should note that this is a progression-based grind. While recent updates have adjusted the experience (EXP) rates for lower-level units to make the early stages more accessible, evolving to the Imperial Wall still requires significant time investment. You will need to actively level your troops through combat to reach the final tier.
Unit Performance and Statistics
According to community testing, the Imperial Wall distinguishes itself through its exceptional defensive capabilities. It currently boasts the highest block statistic in the game, allowing it to absorb significant amounts of incoming damage that would devastate other units.
However, this durability comes at the cost of mobility. The Imperial Wall is officially the slowest unit currently available, with a movement speed of approximately 16.1. Because of this, it is not a suitable choice for offensive strategies that require rapid map traversal or flanking maneuvers. If your goal is to push quickly into enemy territory, you are better off selecting a faster unit type.
Tactical Usage and Formations
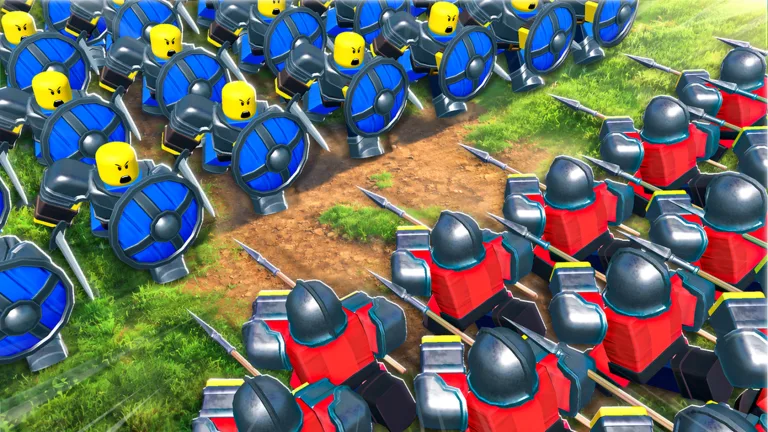
The strength of the Imperial Wall lies in its ability to anchor a defensive line. When deployed correctly, it can hold objectives against overwhelming odds. To get the most out of this unit, you should utilize its specific formations:
Turtle Formation: This is generally the most effective formation for holding a position. It provides maximum protection against incoming projectiles and melee attacks.
Shield Wall: A reliable alternative for standard defensive lines, providing consistent coverage.
Circle Formation: This formation is situational. While it provides 360-degree coverage, it leaves a large gap in the center, which can be exploited if you are not careful.
Community feedback suggests that these formations are most useful when under fire from archers or when you need to "hold the line" against an approaching enemy force. Remember that the unit's attack power is not its primary selling point; its value is purely in its capacity to survive and protect the objective while your teammates provide the necessary damage output.
Is the Imperial Wall Worth It?
If your playstyle centers on defense, the Imperial Wall is arguably the best choice in its class. It excels at absorbing damage, allowing your team to maintain control of capture points even when outnumbered.
However, players should be realistic about its limitations. Because of its extremely low movement speed, it can be a liability on large maps if you are tasked with attacking. If you are playing an offensive role, prioritize speed and damage over raw tankiness. For defensive players, however, the Imperial Wall is a top-tier asset that, when leveled up, becomes nearly immovable.